

- October 26, 2026
- By
- Blog
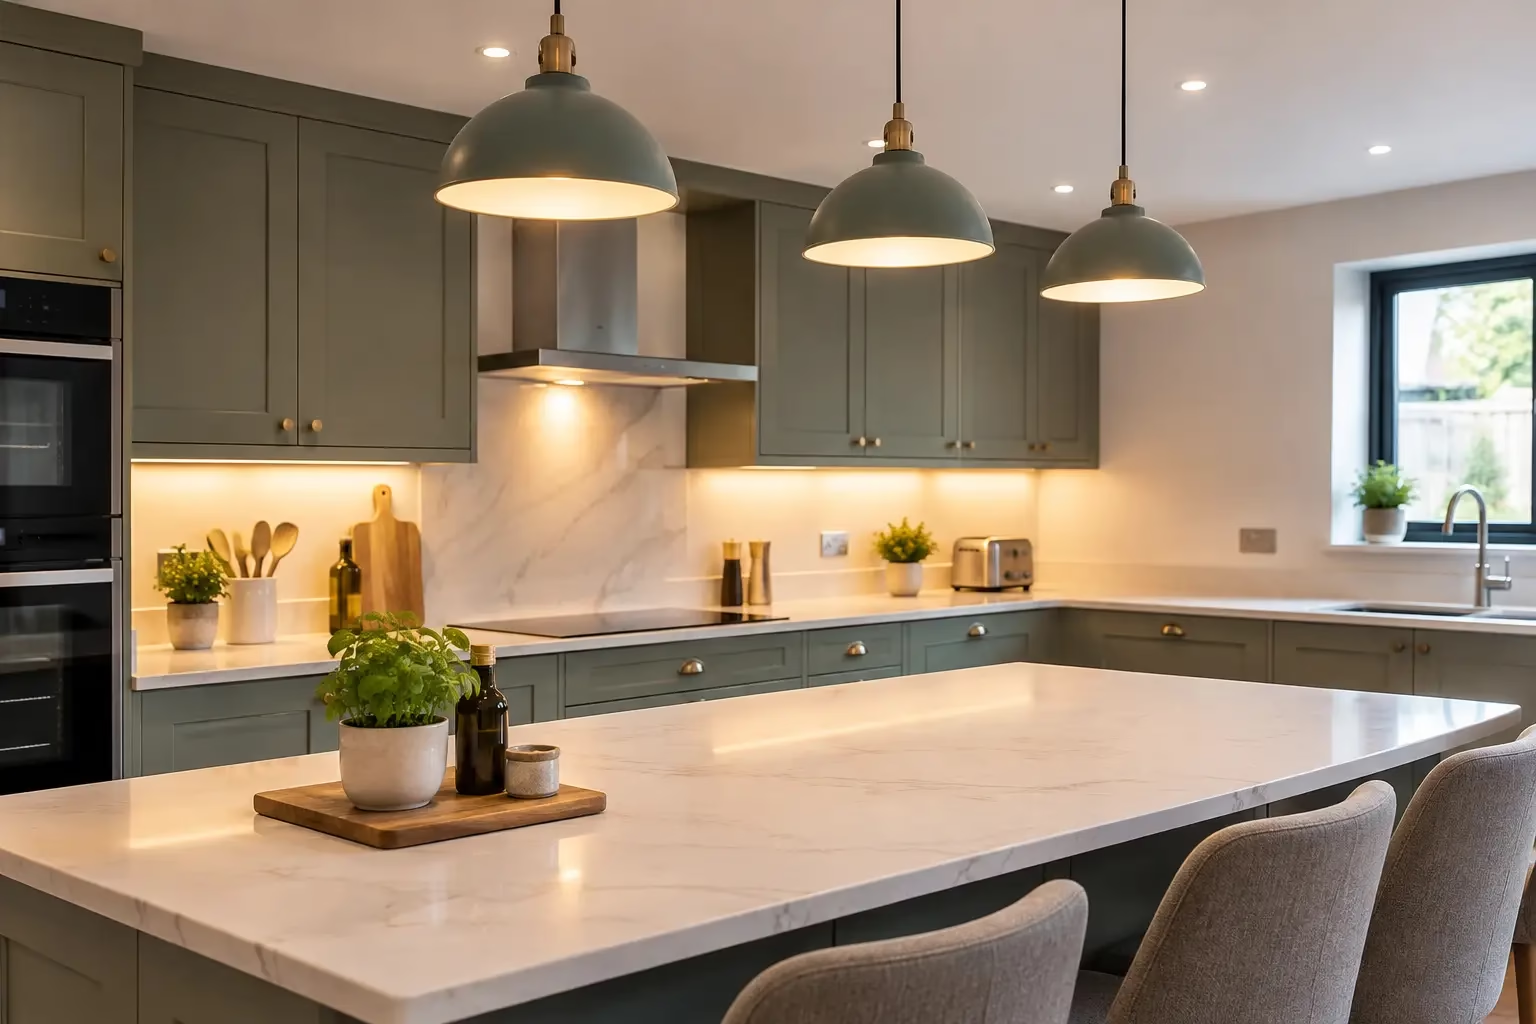
A shadow across the chopping board is more than an annoyance when you are preparing food. It can make everyday jobs harder, hide spills and leave a well-finished kitchen feeling oddly dark. A kitchen task lighting upgrade puts useful light exactly where it is needed – over worktops, the hob, sink and food-preparation areas – without relying on one bright fitting in the middle of the ceiling.
The best result is not simply the brightest one. It is a kitchen that feels comfortable at any time of day, where you can see clearly without glare, and where the electrical work has been planned and installed safely.
Why ceiling lighting alone often falls short
Many kitchens still rely on a single pendant or a row of ceiling downlights. These can provide good general illumination, but they often leave the worktop in shadow. When you stand at the counter, your body blocks light coming from behind you, particularly under wall cupboards.
Task lighting closes that gap. Under-cabinet lighting is the most common choice because it directs light down on to the full depth of the worktop. It is particularly useful beside the sink, where good visibility helps with washing up and cleaning, and around the hob, where you need to see pans and controls clearly.
Lighting inside a pantry, larder cupboard or deep corner cabinet can also make a real difference. These smaller additions are easy to overlook during a renovation, yet they improve day-to-day use far more than a decorative feature light that is rarely switched on.
Planning a kitchen task lighting upgrade
Start with the jobs you do in the kitchen rather than the fittings you have seen online. Look at where you chop, read recipes, make drinks, wash dishes and use small appliances. Check the kitchen in the evening too. Daylight can disguise dark areas that become obvious after sunset.
Think about the position of wall units, open shelving and extractor hoods. A light mounted too far back under a cabinet can create a bright strip against the wall while leaving the front edge of the worktop dim. Positioned nearer the front underside of the unit, it will generally cast more useful, even light across the preparation area.
It also helps to separate lighting into zones. General ceiling lights, worktop task lights and decorative lighting do different jobs. Giving task lighting its own switch means you can use it for making a late-night drink or preparing breakfast without lighting the whole room. In some kitchens, dimmable task lights offer extra flexibility, but the lamps, drivers and dimmer must all be compatible.
Choose the right type of fitting
LED lighting is usually the practical choice for kitchen task lighting. It uses less energy than older halogen fittings, produces less heat and is available in a wide range of styles. The key decision is often between LED strips, linear under-cabinet fittings and individual spotlights.
LED strip lighting can give a clean, continuous line of light and works well under long runs of cupboards. It needs a suitable profile and diffuser if you want a neater finish and reduced glare. Cheap exposed strips can show individual points of light on shiny worktops or splashbacks, which can make the installation look less considered.
Linear fittings are a straightforward option for utility and family kitchens. They provide consistent light and can be easier to replace as a complete unit in future. Individual cabinet lights can suit short sections or specific areas, although spacing matters if you want to avoid pools of bright light and dark gaps.
For food preparation, a neutral white light is often a good balance. Very warm light can make a kitchen feel cosy but may alter the appearance of food, while very cool blue-white light can feel harsh. The right choice depends on the kitchen finishes, the amount of natural light and how the room is used.
Do not overlook glare and reflections
Highly polished worktops, gloss cabinet doors and glass splashbacks can reflect light strongly. A fitting that looks acceptable in a showroom may be uncomfortable when installed at eye level in your own kitchen.
Diffused light, correctly positioned channels and careful aiming reduce this problem. If you are fitting lights near a seating area or breakfast bar, consider where people will be sitting as well as where they will be working. You should see the worktop clearly, not the bare LEDs reflected in it.
Electrical safety behind the finished look
A tidy row of under-cabinet lights still needs sound electrical design behind it. Depending on the existing installation, a new lighting circuit may not be necessary, but the current circuit must have adequate capacity and proper protection. Connections must remain safe, accessible where required and suitable for their environment.
Kitchens contain water, heat, steam and plenty of appliances. Lighting close to a sink or hob needs sensible positioning, while drivers and transformers must be installed where they will not overheat or be trapped without ventilation. A loose cable tucked behind a cabinet is not a proper solution.
Older kitchens can reveal wider issues too. If lights flicker, switches feel warm, circuits trip regularly or the consumer unit is dated, it is sensible to have the installation checked before adding new fittings. A lighting upgrade is often a good opportunity to identify worn accessories, poor connections or unsuitable previous work.
Electrical work should be completed in line with BS 7671 and current 18th Edition requirements. The exact certification needed depends on the scope of the work, but a competent electrician can explain what applies in plain English and provide the appropriate paperwork when the job is complete.
When a professional installation is worth it
Some plug-in, battery or rechargeable lights can be useful for a temporary improvement. They are quick to fit and can help in a rented kitchen where permanent alterations are not agreed. The trade-off is usually lower output, frequent charging, visible cables or a less durable finish.
For a long-term kitchen task lighting upgrade, hard-wired lighting is normally the better option. It allows switches to be placed where they are convenient, cables to be concealed and fittings to be integrated neatly with the joinery. It also avoids overloading socket adaptors or relying on extension leads behind appliances.
A professional electrician can assess the existing circuit, plan cable routes before cabinets are fitted, select suitable drivers and make sure the lighting controls work as expected. This is particularly valuable during a kitchen refit, when chasing walls or lifting flooring later would be disruptive and costly.
If you are a landlord, reliable fixed lighting is also part of maintaining a safe, usable property. Replace damaged fittings promptly, investigate recurring faults and keep electrical safety records up to date rather than treating lighting as purely cosmetic.
A practical order for the work
Good timing prevents a lot of unnecessary mess. Decide on the lighting layout before the kitchen is installed, especially if you want cables hidden inside walls, units or ceiling voids. Your kitchen fitter and electrician should know where cabinets, appliances, extractor ducting and splashbacks will sit before first-fix work begins.
Once the units are in place, the final fittings, switches and controls can be installed and tested. This approach protects the cabinetry, gives a cleaner finish and means the lights can be positioned accurately rather than guessed from a drawing.
Before work starts, make sure you have agreed the number of lighting zones, the switching arrangement, the type of fittings and who is supplying them. Clear choices at this stage help avoid changes once the kitchen is halfway fitted.
A well-planned lighting upgrade should make the kitchen easier and safer to use every single day. If you are unsure what your existing wiring can support, arrange an assessment before buying fittings – a clear plan and properly installed lighting will give you a result that looks right and works reliably for years.